Digital Receipts can be sent after payment has been tendered at the end of a sale or they can be sent from the Journal Enquiry function.
Click on the desired method to find out more.
Go to: POS Screen
Navigate to the POS Screen tab which contains the Receipt On/Off button and ensure that it shows as 'RECEIPT IS OFF'.
If the button shows as 'RECEIPT IS ON', press the button to toggle receipts so that they are turned off.
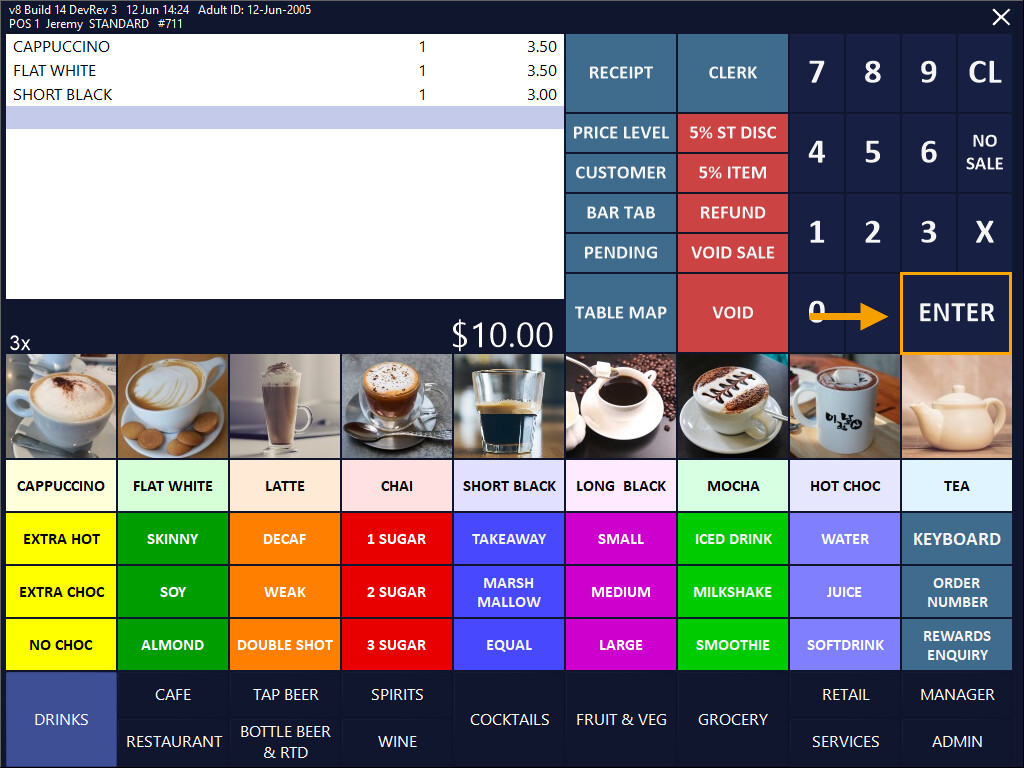
Add items to the sale > ENTER.
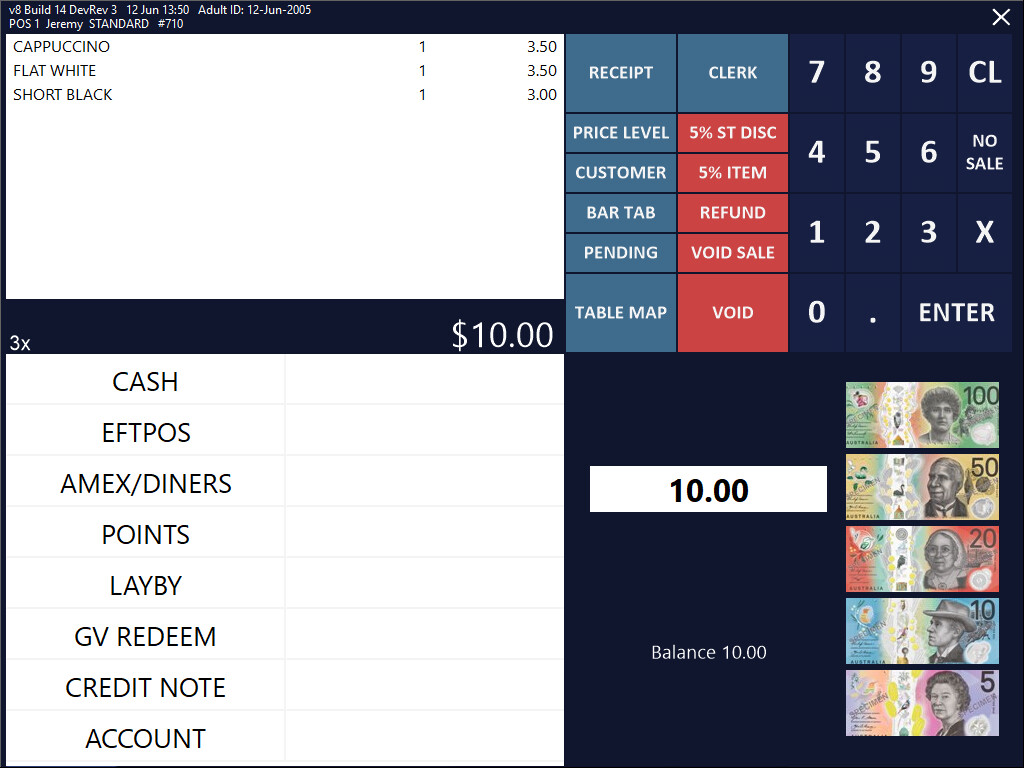
From the Tender screen, select a tender.
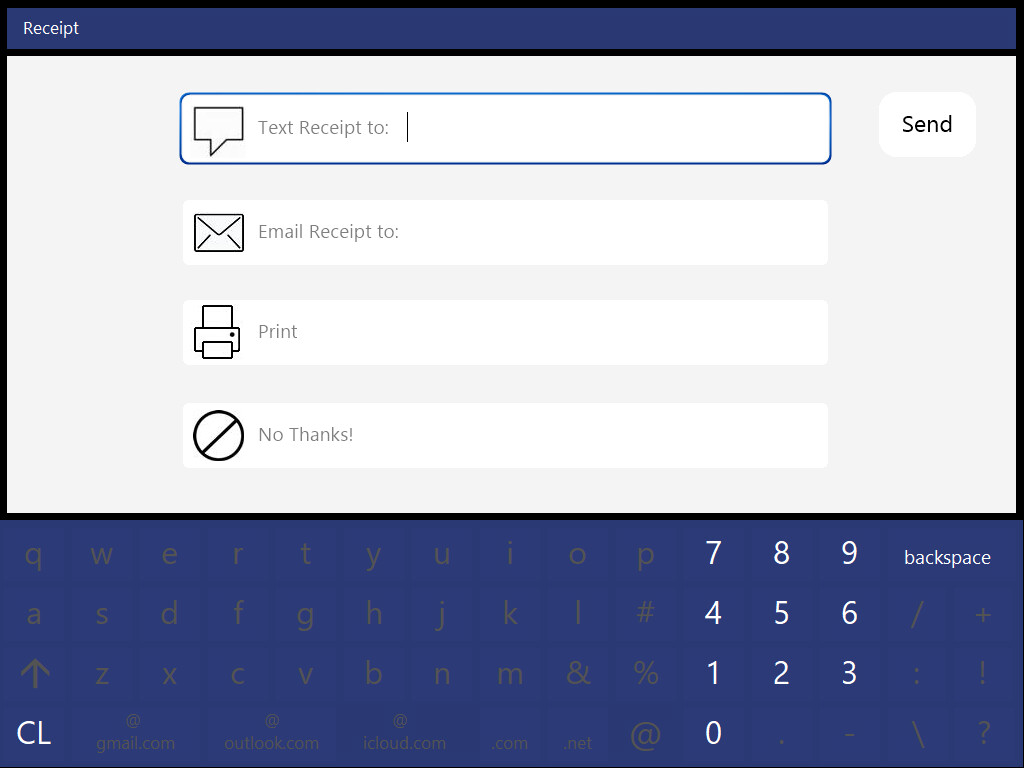
After selecting a tender, the Digital Receipt prompt is displayed.
Select the desired option.
If the option requires the entry of a Mobile Phone Number or Email Address, enter the required information and press 'Send'.
The receipt will be produced or sent using the selected option.
Tip!
If a Customer has been added to the sale and they have a phone number and/or email address stored in their customer record, their Mobile Phone Number and/or Email Address will be auto-populated in the relevant fields.
Note!
SMS/Text Receipt to functionality is not currently available.
Attempting to use this option to send a digital receipt via SMS will result in no SMS/text message being received by the recipient.
Please disable the SMS option until this functionality is available (refer to the Configure Digital Receipts topic for information about toggling the SMS option on/off).
After a sale has been completed, it will appear in the Journal History Enquiry.
If a Digital Receipt was not issued at the time that the transaction was finalised (or if a Digital Receipt needs to be re-sent again), it can be sent from the Journal History Enquiry.
Go to: Back Office > Enquiry > Journal History.
Select a Journal from the list.
If the Journal doesn't appear in the list (sale didn't take place on the current day), adjust the selection criteria by specifying the period that the transaction occurred, then press the 'Select' button (located towards the top-right corner of the window) to update the results shown in the Journal History Enquiry window.
Once the Journal has been located in the list, select it so that it is highlighted, then press the 'Digital Receipt' button.
Note!
The Digital Receipt button will only appear in the Journal History Enquiry window when the following conditions are met:

After pressing the 'Digital Receipt' button, the Digital Receipt prompt will be displayed.
Select either Email or Text, enter the Email Address or Mobile Phone Number and press 'Send' to send the Digital Receipt.
Note!
SMS/Text Receipt to functionality is not currently available.
Attempting to use this option to send a digital receipt via SMS will result in no SMS/text message being received by the recipient.
Please disable the SMS option until this functionality is available (refer to the Configure Digital Receipts topic for information about toggling the SMS option on/off).